From bare walls to a living room
Invisible high-end stereo


Invisible high-end stereo
 AI-generated room view

 AI-generated room view
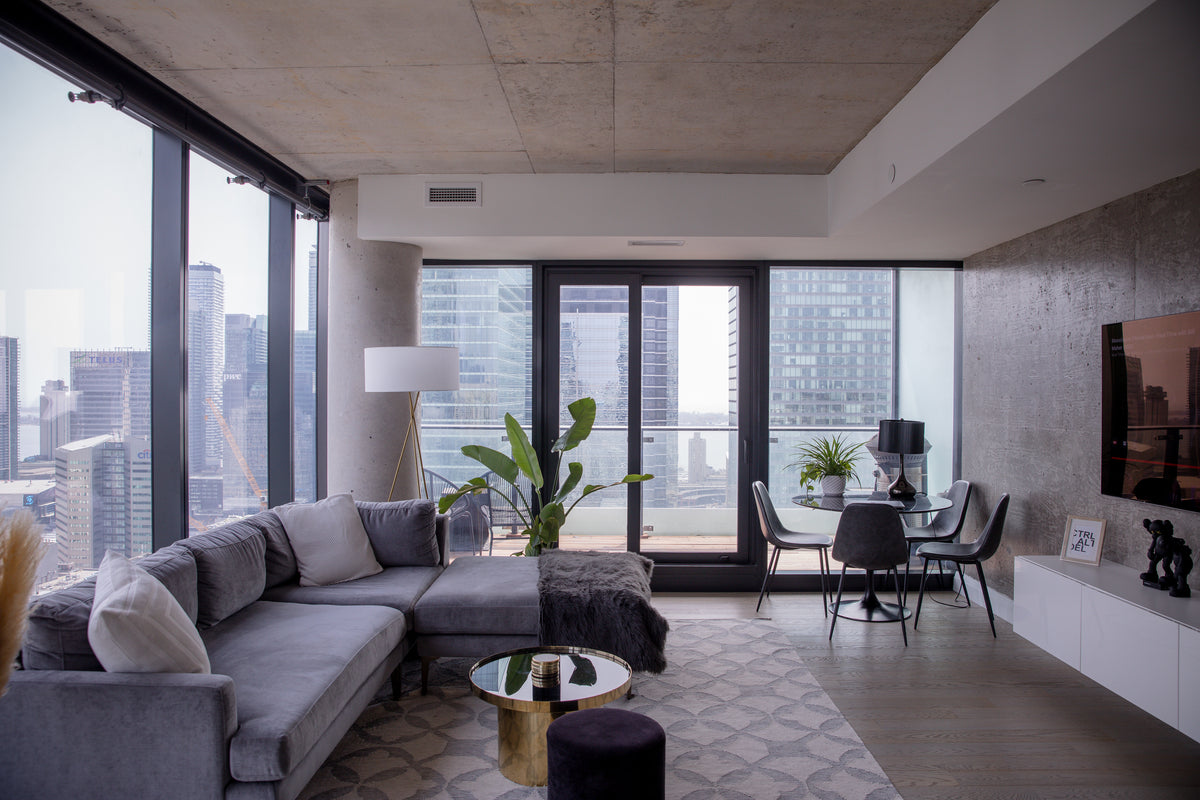
System example · Living room
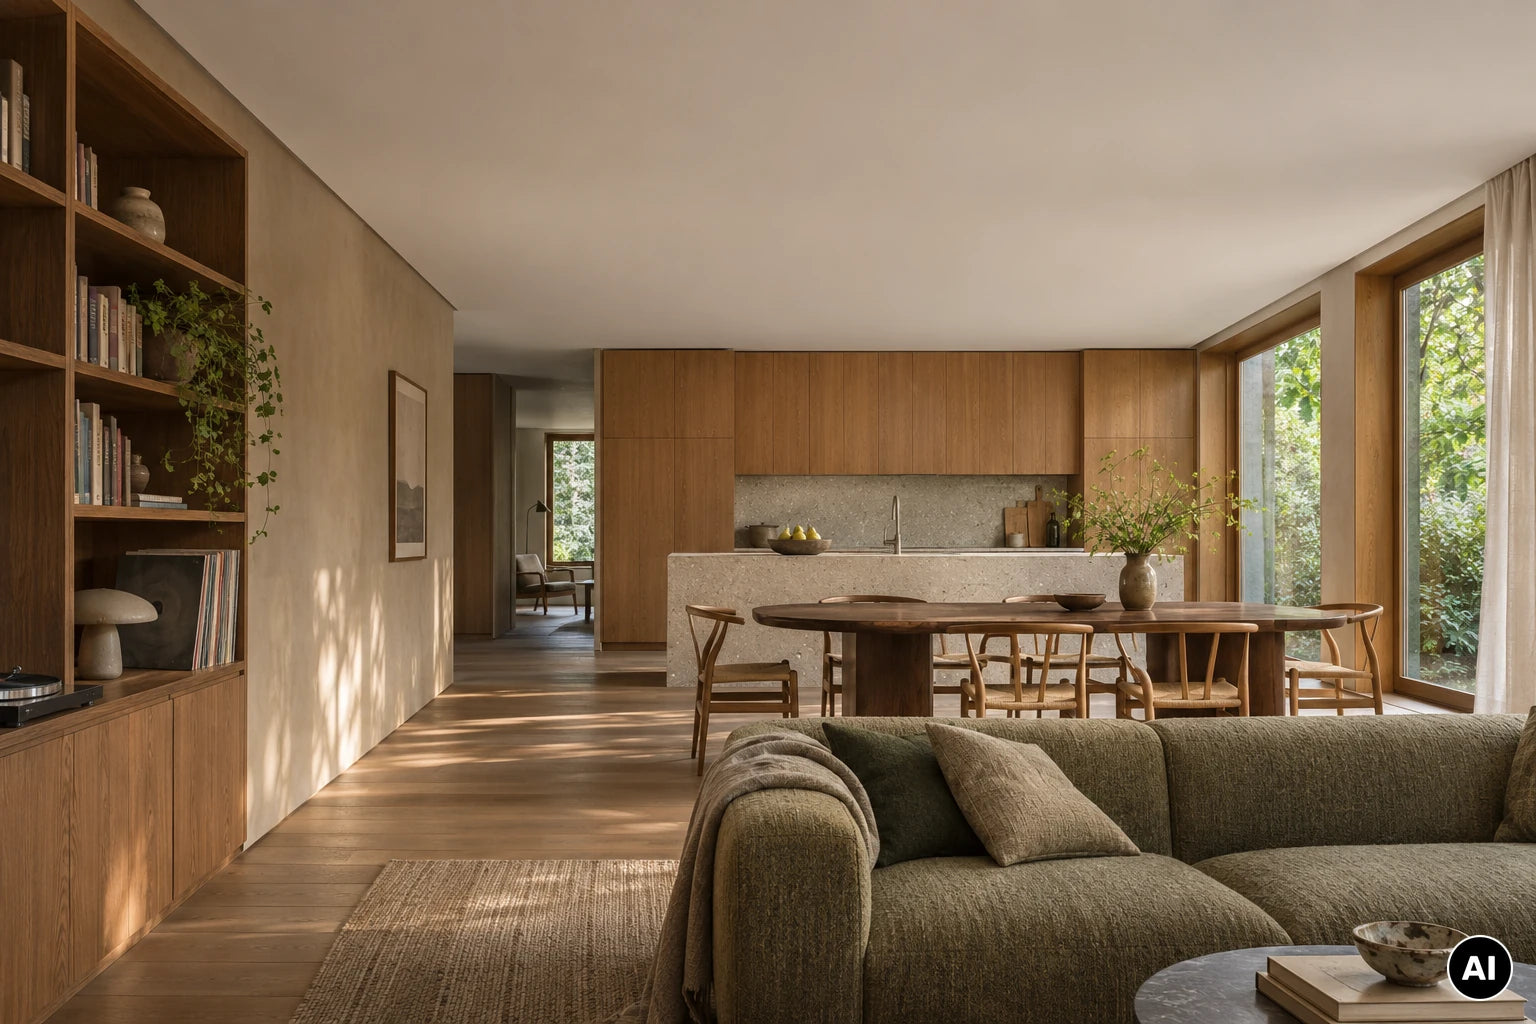
Two 6280 reference pro speakers reproduce the left and right channels. Two invisible subwoofers extend the deep bass. All four disappear into the finished wall.
 See the system in the catalogueRoom view, parts list and channel assignments · pp. 10–11
The cs-2000dsp4 drives each of the four panels on its own channel.
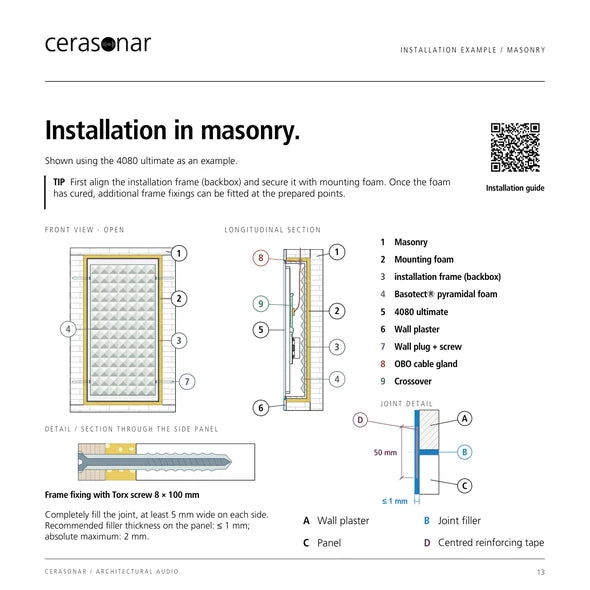
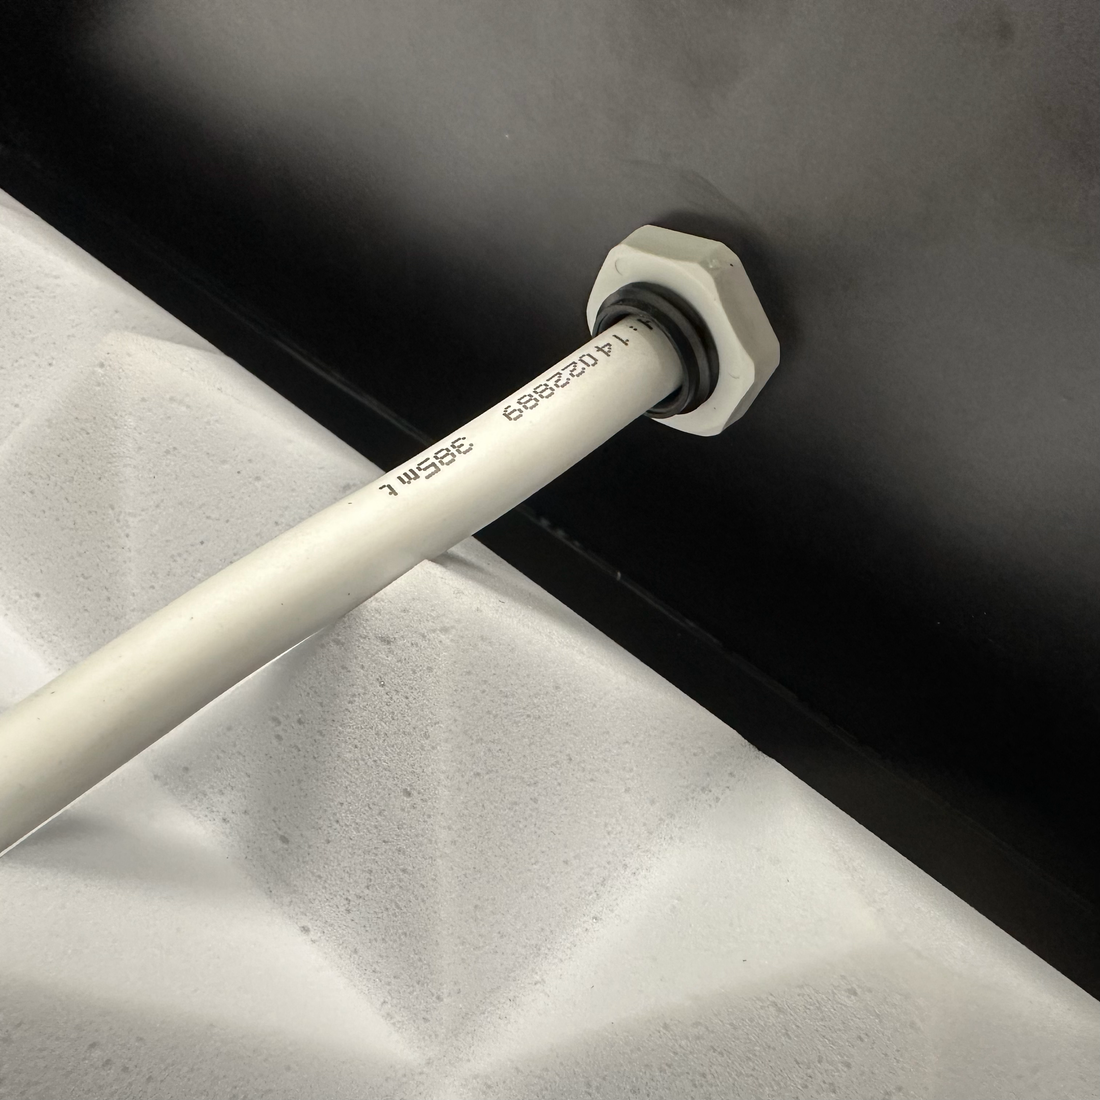
Set out the installation frame (backbox) 6280 with its blanking plate fitted. The OBO cable gland sits halfway up the side, 40 cm from the base of the 80 cm frame. Align the entire frame, including the blanking plate, with the future finished wall. Set the depth so the total filler thickness on the loudspeaker panel will be no more than 2 mm.
Leave a 20 mm gap on each side between the installation frame (backbox) and the masonry for the expanding foam. Set the depth, secure the alignment battens, then apply the foam. Once cured, trim the excess flush. If the installation requires additional frame fixings, fit them after the foam has cured.
For this masonry detail, use glass-fibre joint tape at least 75 mm wide. It spans the foam joint and beds into the filler on both sides.
Two dimensions matter when fixing the panel. The screw head sits 1–2 mm below the surface. The wood screw may penetrate the 18 mm film-faced plywood of the installation frame (backbox) by a maximum of 15–16 mm. Choose the overall screw length to suit the actual build-up. The film shows a screw approximately 40 mm long as an example.
Open the installation assistantSystem example · Restaurant
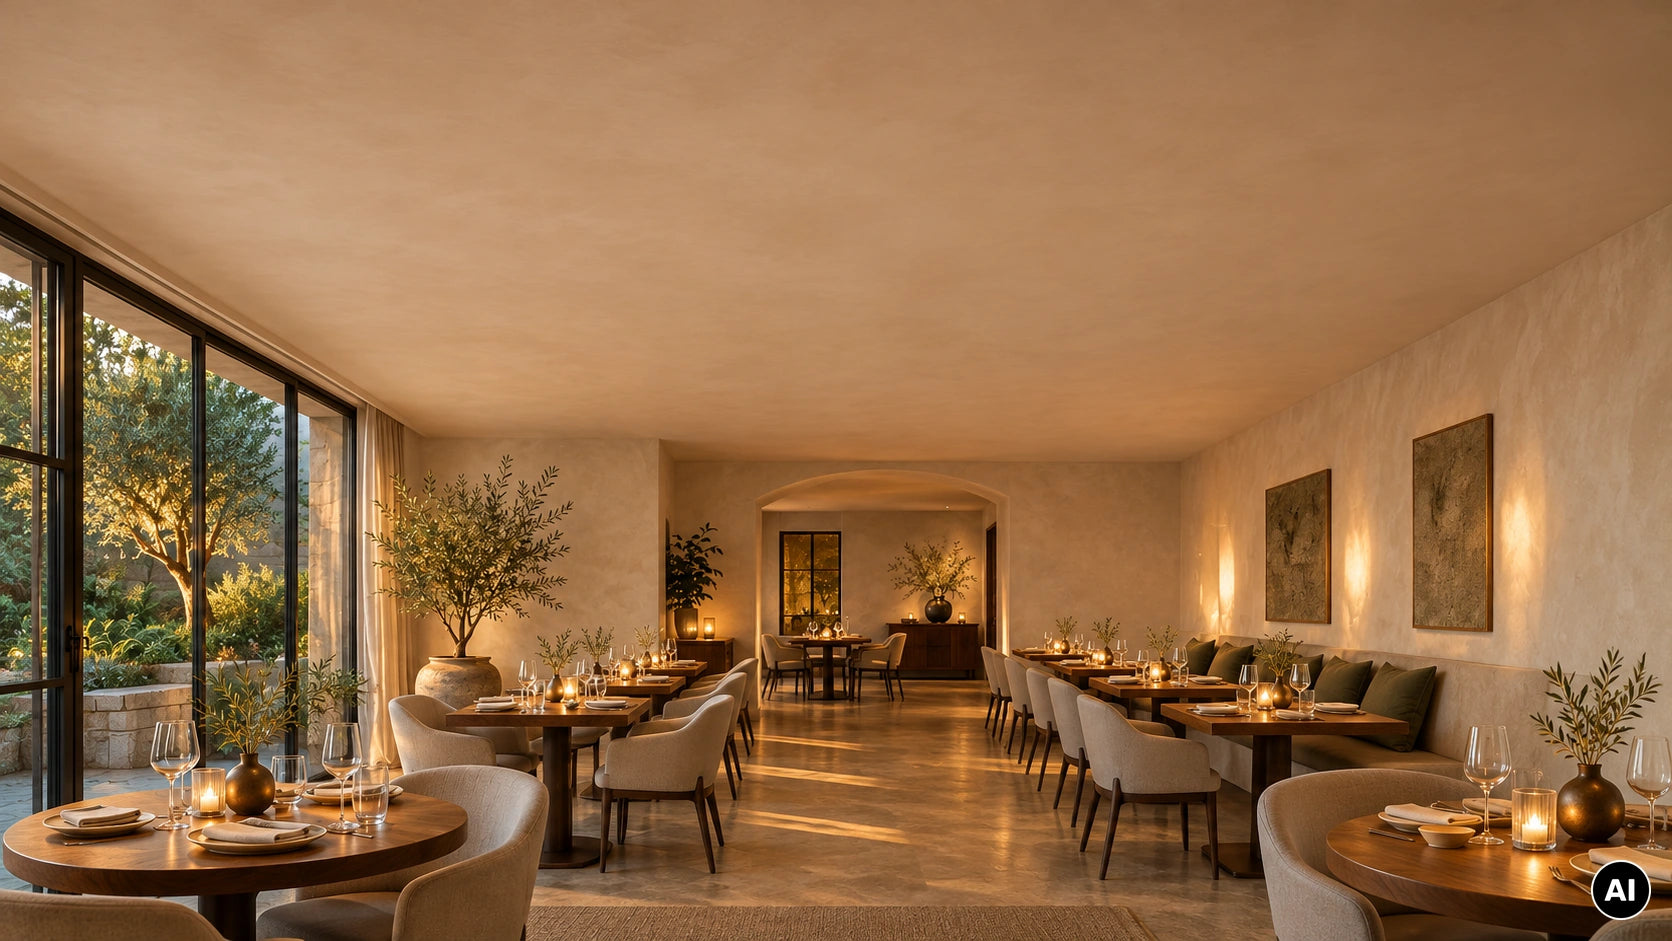
In the cerasonar SMART COVERAGE S MAX system, eight 1520 fit speakers carry the same mono signal throughout the dining room. The cs-150smart2 handles streaming and amplification for all eight.
Plan a restaurant systemSystem options for dining rooms, bars and terracesEach channel drives four 12 Ω system versions of the 1520 fit in parallel. The cs-150smart2 operates at 3 Ω per channel with the matching Smart Coverage preset and limiter.
System example · Wood & veneer
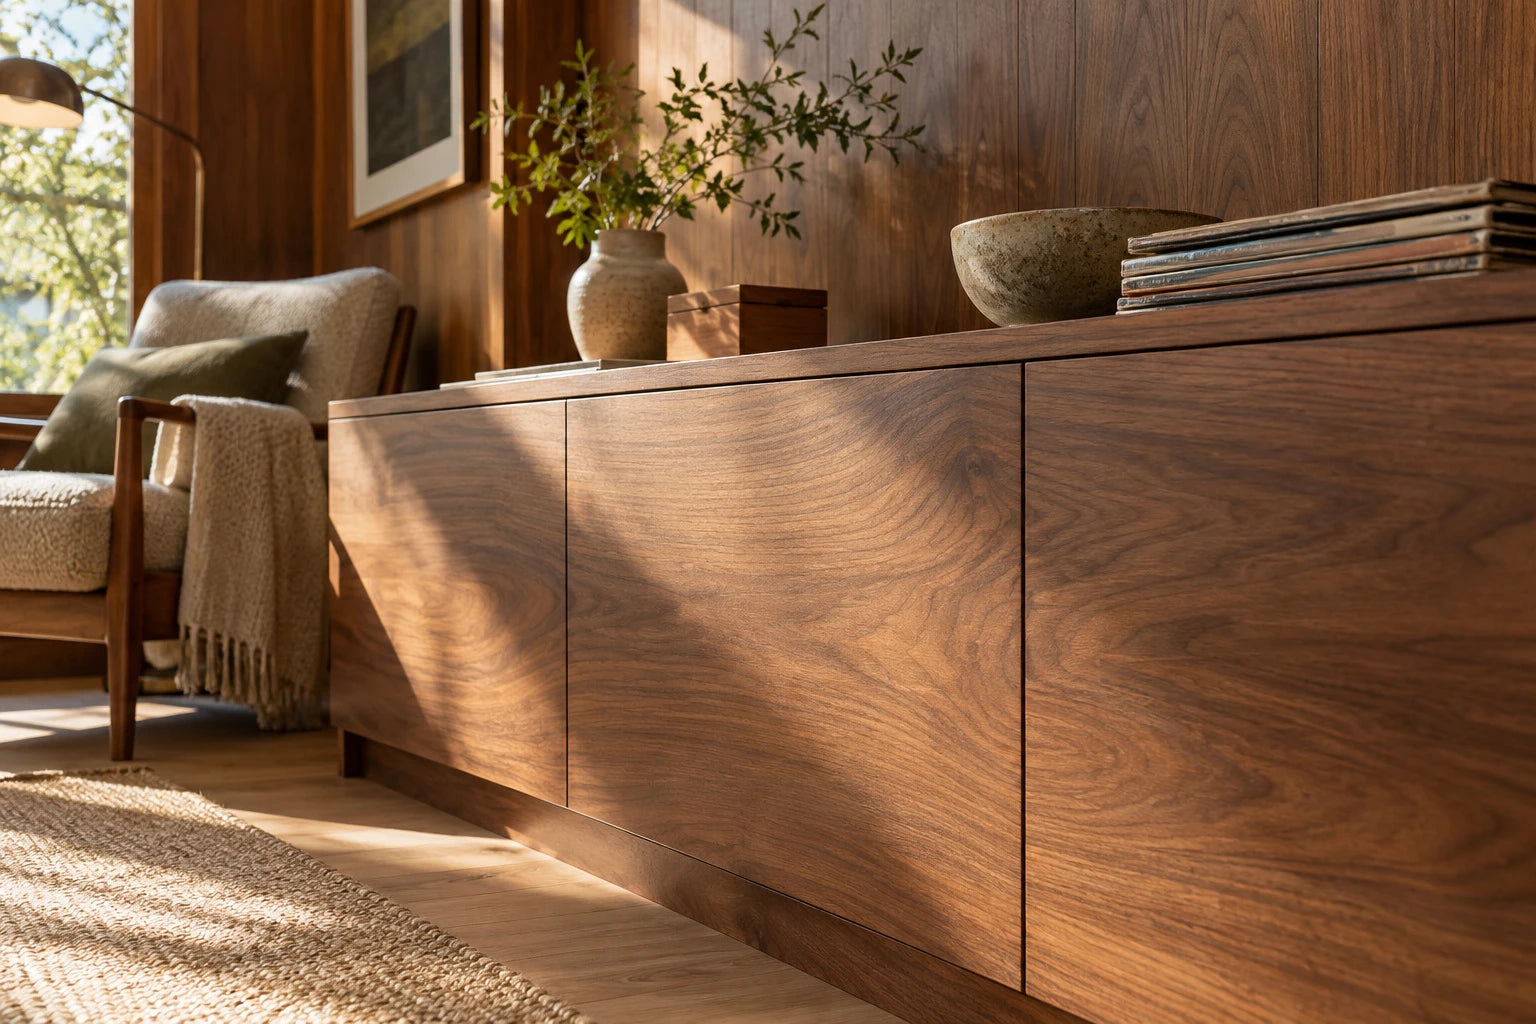
Two 4062 reference pro speakers play through the closed fronts of the sideboard. The architect sub sits inside the cabinet and directs bass through a hose to its underside. A gap between the outlet and the floor lets the bass enter the room.
See the sideboard in the catalogueCabinet view and system layout · pp. 8–9 2 × 4062 reference proLoudspeaker
The cabinetmaker plans the speaker positions, routed pockets and clear bass outlet before making the fronts.
For the fronts. The wood version of the 4062 reference pro sits in a CNC-routed pocket behind the veneer. Use the panel drawing to machine the recess. Allow about 1–1.5 mm of clearance all round. The rear mounting kit secures the bonded panel.
For the sound. The Wood preset in the cs-500dsp4 v2 is tuned for sound transmission through the front. Allow for the bass outlet when designing the plinth so that it opens freely into the room.
Open the wood and veneer installation guideSystem example · Multiroom
Each of the kitchen, dining and living areas has a pair of 4080 ultimate speakers fitted flush into the plasterboard ceiling. Every zone has its own cs-150smart2.
Six loudspeakers and three amplifiers serve the whole apartment in this example. A stereo pair in each zone uses the matching factory preset.
Each 4080 ultimate sits in an installation frame (backbox) 4080. Four M8 threaded rods suspend the frame from the concrete slab via the drywall ceiling anti-vibration kit. Its four resilient mounts reduce the transmission of structure-borne sound. The drywall ceiling kit 4080 provides fixing points for the plasterboard.
System example · Terrace
Two 8 Ω concrete maxi speakers form a stereo pair for this seating area. The cs-150smart2 drives each speaker on a separate channel. For a more compact enclosure, the concrete mini v2 is the smaller option. Both sizes appear in the main image.
Explore the concrete maxiProduct, options and technical dataUse the factory concrete maxi preset for the stereo pair. Listening distance and ambient noise determine the level required.
Once the wall is closed, every decision made beforehand counts. That is why we work with you to plan the loudspeakers, installation and amplification together.
Explore cerasonar technology
We have developed invisible loudspeakers here since 2011 and make every panel by hand. If your project calls for an unusual wall construction, you can discuss the installation directly with our development team.

A vibration-isolated ceiling mount is available for every cerasonar built-in loudspeaker. In the 4080 ultimate installation shown here, four threaded rods suspend the installation frame (backbox). The elastomer mounts in the drywall ceiling anti-vibration kit reduce the transmission of structure-borne sound to the building structure.

In the 6280 stereo system, each loudspeaker and subwoofer has its own amplifier channel. On request, we supply the cs-2000dsp4 with the appropriate DSP presets and label the channels for connection on site.
The surface of an invisible loudspeaker panel vibrates, radiating sound into the room. The wall construction and the chosen finish determine how the panel is installed.
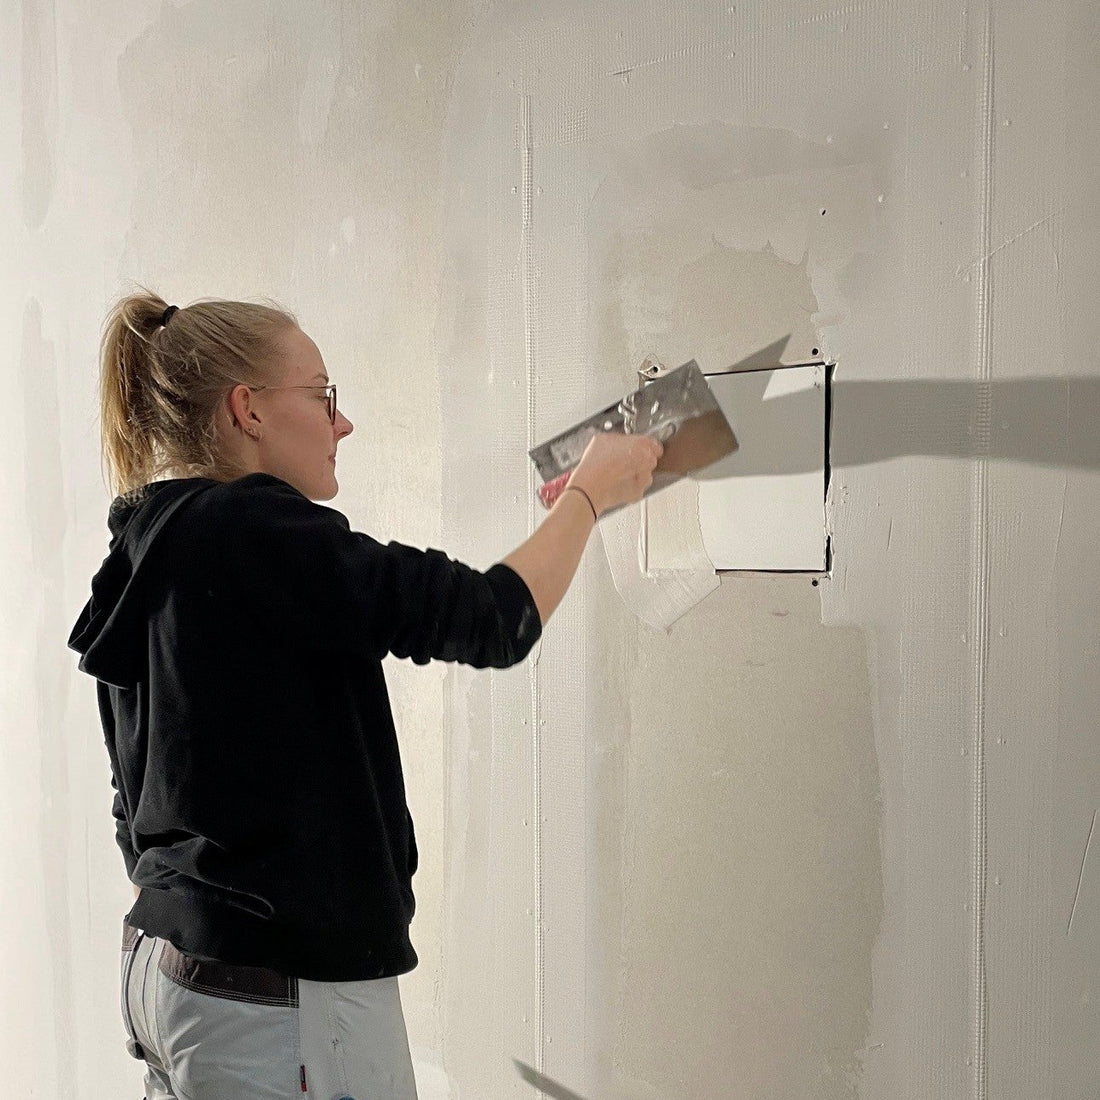
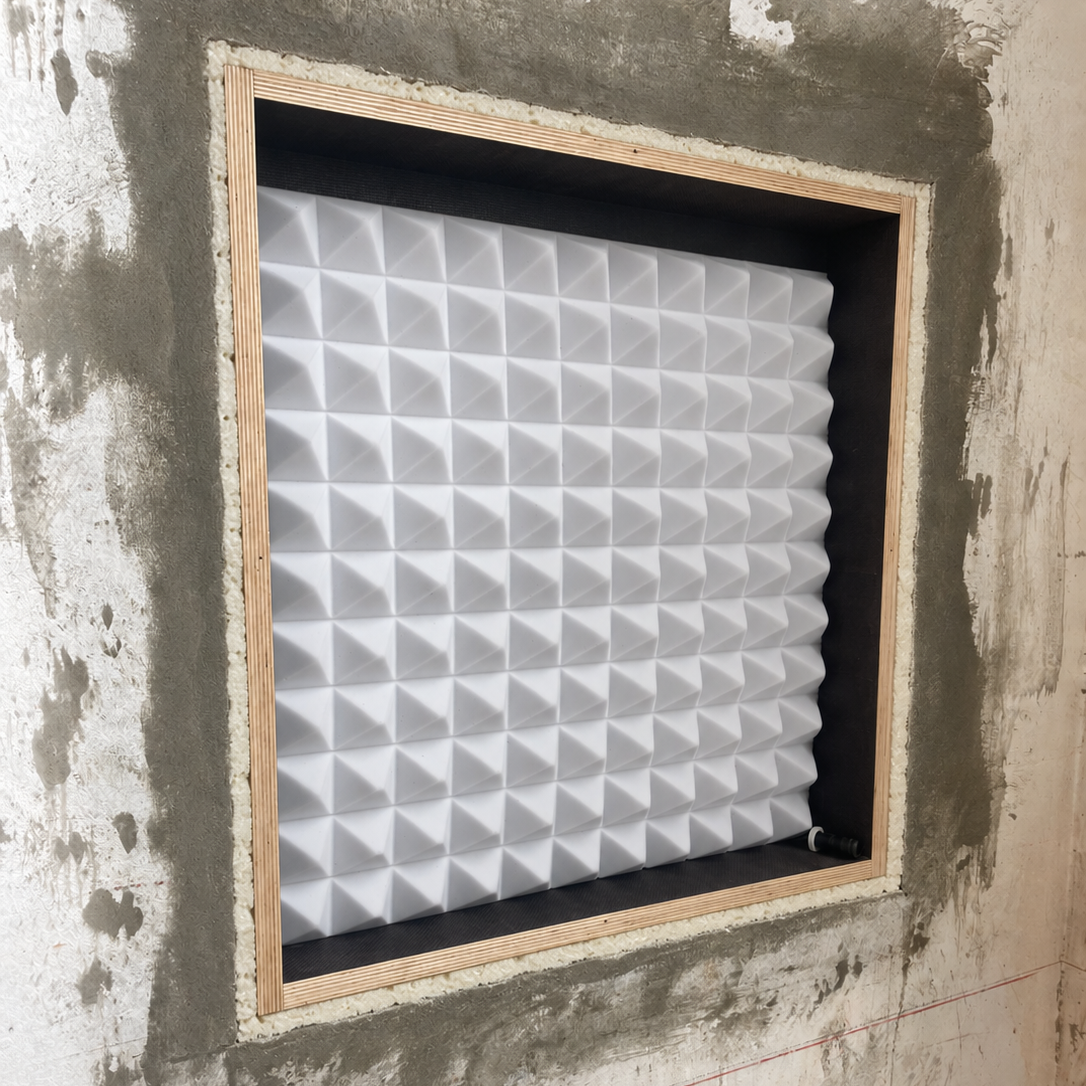
This 2525 fit is installed in a plasterboard wall. After installation and a listening test, joint compound blends the panel into the wall. The final coat of paint covers the entire surface.
Plan the loudspeaker position and cable route while the framing is still accessible.
View drywall installationThe installation frame (backbox) fits into a recess prepared for it. Its blanking plate and timber battens allow the front edge to be aligned with the final wall surface. The photograph shows the frame fixed in place with the blanking plate removed.
Check that the wall is suitable and coordinate recess depth, cable entry and the plane of the finished plaster.
View masonry installationThe joiner machines a pocket into the back of the timber panel. The loudspeaker couples to the thin layer of material that remains. The grain runs uninterrupted across the visible face.
Agree the substrate, veneer and remaining thickness with the joiner. A sample lets you listen to the proposed construction.
Watch the veneer installation filmAvailable space helps narrow down the options early in the design. Compare dimensions and amplifier connections for frequently specified models. Select a model name to open its product page.
| Model and application | Width × height | Unit depth |
|---|---|---|
| 1520 fit · 12 Ω Eight loudspeakers in a restaurant with SMART COVERAGE S MAX | 163 × 234 mm | 53.5 mm |
| 2525 fit Compact format for distributed audio | 253 × 289 mm | 53.5 mm |
| 4062 architect v2 Shallow wall and ceiling installations | 400 × 620 mm | 30 mm |
| 4062 reference pro Stereo in a wall or behind veneer¹ | 400 × 620 mm | 58.5 mm |
| 6280 reference pro Main loudspeakers for stereo and cinema | 620 × 800 mm | 58.5 mm |
| 4080 ultimate Music reproduction with an integrated woofer | 400 × 800 mm | 93 mm |
Unit depth is the depth of the loudspeaker itself. Allow additional space for the installation frame (backbox), connections and cable routing. ¹ For veneer, specify the version prepared for timber installation.
Explore the catalogue| Model and application | Width × height | Unit depth |
|---|---|---|
| architect sub Self-contained enclosure with a separate outlet, also suitable for furniture | 341 × 416 mm | 203 mm |
| 4080 sub Flush-mounted panel for walls or ceilings | 400 × 800 mm | 93 mm |
| 6280 sub 12-inch subwoofer for reference stereo and cinema | 620 × 800 mm | 111.5 mm |
Allow space for the hose and outlet of the architect sub. When specifying the 6280 sub, also plan how to wire its two voice coils and assign the amplifier channels.
Explore the catalogue| Model and source | Outputs | Power at 4 Ω |
|---|---|---|
| cs-150smart2 Streaming and TV via HDMI ARC (PCM) | 2 channels | 2 × 75 W |
| cs-500dsp4 v2 Analogue audio source, network control | 4 channels | 4 × 125 W |
| cs-2000dsp4 Analogue audio source or Dante network | 4 channels | 4 × 500 W |
Power ratings are given for each model at 4 Ω. The connected load, loudspeaker model and its factory DSP preset determine the configuration of each channel.
Explore the catalogueA lobby needs even music coverage across many seats. In a cinema, direction, dynamics and deep bass matter at the listening position. Choose the application that fits your project.
Four decisions turn an idea for sound into a design that can be built. Interior designers, AV consultants and fit-out teams know what to pass on at each stage.
Where will people listen to music, hold a conversation or watch a film? Mark seats, independently controlled zones and the intended finish on the floor plan.
Assign each loudspeaker to an amplifier channel. Establish cable routes, sources, control and space for the amplifiers. Record the model and intended DSP preset on the plan.
Check the framing and installation depth against the model drawing. Before finishing, listen to each channel and check for rattles. Photograph positions and cable routes.
Apply the approved finish. Once dry, listen to the system with the end users and show them the controls. Hand over the channel schedule, settings and installation photographs.
From the first client meeting to coordination with the installer.
Room examples, system combinations and installation drawings to take to your next project meeting.
Open catalogue · PDFEnter the room, listening level and bass requirements. The system planner puts together a component list you can adjust.
Select the model and wall or ceiling construction to see the relevant installation steps.
Select a model from the range. Its planning documents are available on the product page.

Bring music you know well. On two freestanding demonstration displays, hear how the invisible loudspeakers reproduce voices and what a separate subwoofer brings to the same piece.
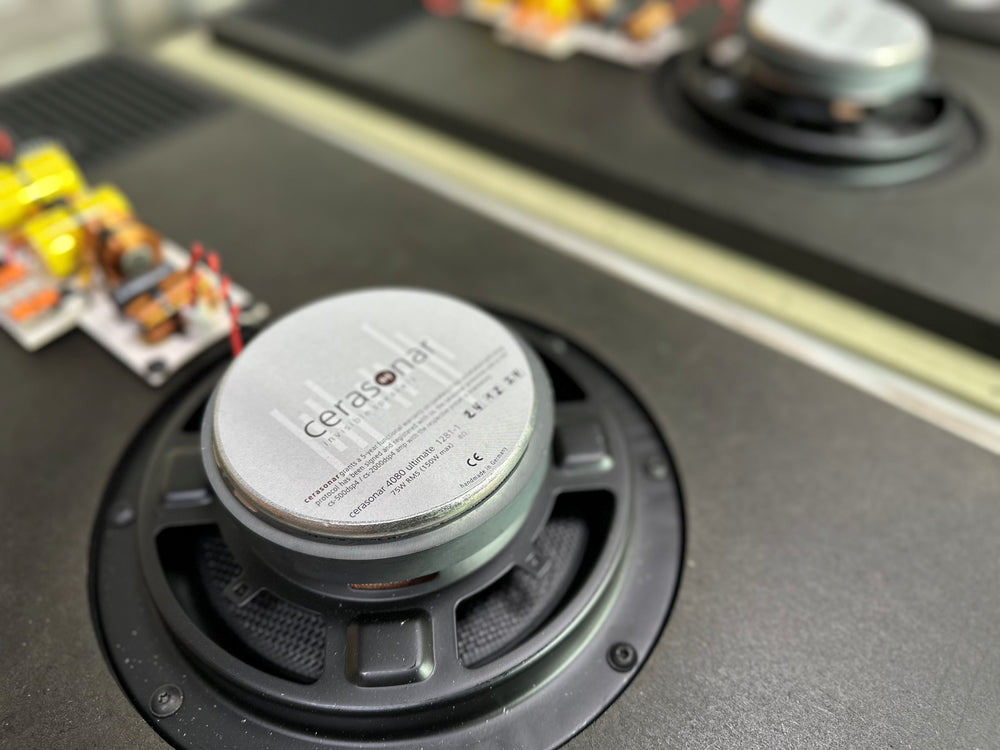
Demonstration systems feature the 2525 fit, 4080 ultimate and 6280 reference pro. On the ultimate and reference pro systems you can compare the extra bass using the appropriate DSP preset. The displays are also available for your own showroom.
Meet our team at ISE. Bring a floor plan or a material sample and discuss how sound can be integrated into your design.
Book a meeting at ISEWe will work through model selection, wall or ceiling construction and DSP tuning with you. Bring questions from a current project.
Book product trainingAt the stand, the cerasonar team talks to SSUM UP TV about invisible loudspeakers and how the panel, installation frame (backbox) and electronics work together.

Our team develops and builds invisible loudspeakers in Worpswede. Send us your floor plan or material idea. We will discuss which loudspeakers suit the room and what your contractors need for installation.

Planning a project abroad or looking for a supplier near you? Select your country to contact your local cerasonar distributor.